
Deciding whether to DIY or hire a pro for installing a wheelchair ramp depends on your skills, experience, and knowledge of local building codes. If you’re confident with tools, measurements, and permits, a DIY project could save money. However, if your skills are limited or the project is complex, hiring a licensed professional guarantees safety, compliance, and durability. To make the best choice, consider your ability to plan and execute safely—more guidance is ahead to help you decide.
Key Takeaways
- Assess your skill level and experience with construction, safety protocols, and local building codes before deciding on DIY or professional help.
- Consider project complexity, safety requirements, and whether you can ensure code compliance and structural integrity yourself.
- For complex designs or strict accessibility standards, hiring a licensed professional guarantees safety and legal adherence.
- Budget constraints and timeline may influence whether a DIY approach is feasible or if professional installation is necessary.
- Always verify permits, inspections, and standards to ensure the ramp is installed safely and legally, regardless of who performs the work.
Assessing Your Skill Level and Experience
Before deciding whether to DIY or hire a professional, you need to honestly evaluate your skill level and experience. If you’re comfortable with tool safety practices and can handle measurements, cuts, and assembly, you might be ready to take on the project. However, if your experience is limited, tackling a wheelchair ramp could lead to mistakes that compromise safety and accessibility. Remember, proper project budgeting depends on accurately appraising your skills; underestimating costs due to errors can blow your budget. Be honest about what you can confidently do and where you might need help. Knowing your limits ensures you don’t cut corners or neglect important safety steps, ultimately making your project safer and more successful. Additionally, understanding tool safety practices and the specific requirements for ramp installation is crucial to ensure compliance with safety standards. Familiarity with construction techniques related to ramp building can further enhance your confidence and the final outcome of your project. Being aware of existential themes and ethical considerations can also inform your decision to seek professional help when necessary, ensuring that safety and quality are prioritized. Recognizing the importance of quality standards can help you determine whether your skills meet the necessary criteria for a safe and durable installation. Moreover, evaluating your experience with similar projects can provide insight into whether you are prepared to complete this task effectively.
Understanding Building Codes and Accessibility Standards
Before starting your project, you need to understand the permits and regulations required by your local authorities. Accessibility compliance standards are essential to make sure your space is safe and usable for everyone. Keep in mind that building code requirements can vary from one area to another, so check your local regulations carefully. Incorporating thermal behavior considerations can also help ensure your ramp maintains safe and consistent conditions during use. Additionally, understanding affiliate disclosure policies can be important if you’re considering purchasing materials through linked vendors. Being aware of modern kitchen technology principles can also inspire innovative solutions to improve your ramp’s functionality and safety features. Recognizing the influence of dark psychology tactics can also help you identify and prevent manipulation or coercion during your project planning process. Moreover, understanding building code updates can keep your project compliant with the latest safety standards and regulations.
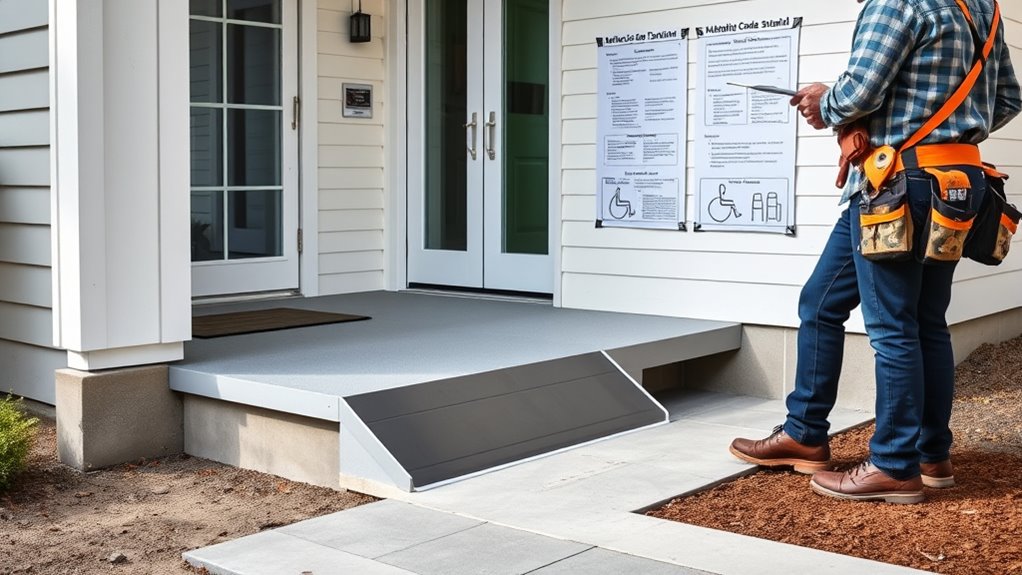
Permits and Regulations
Navigating permits and regulations is a crucial step in any project because failing to comply can lead to costly delays or legal issues. You need to understand permit requirements and ensure your ramp meets accessibility standards. Here are four key points to consider:
- Check local building codes for specific permit requirements before starting construction.
- Verify accessibility standards to ensure your ramp complies with legal guidelines.
- Obtain necessary permits in advance to avoid fines or project halts.
- Keep documentation of approvals to prove compliance during inspections.
- Be aware of European cloud innovation initiatives that promote sustainable and secure solutions, which can influence regional regulations and standards. Additionally, understanding water safety regulations can help prevent accidents and ensure proper installation practices. Staying informed about building material standards can also enhance the safety and durability of your ramp. Failing to follow these steps can result in delays or redesigns. Always consult local authorities or professionals familiar with your area’s regulations to ensure your project adheres to all permit requirements and accessibility standards.
Accessibility Compliance Requirements
Understanding building codes and accessibility standards is essential to guarantee your project meets legal requirements and provides safe, usable access for everyone. Accessibility standards set clear guidelines for ramp slope, width, handrails, and surface material, ensuring the ramp is functional and safe. Complying with these standards is critical for legal compliance and avoiding penalties or delays. You should familiarize yourself with the specific requirements in your area, as they are often based on national guidelines like the ADA. Ignoring these standards can lead to unsafe conditions and legal issues. Whether you choose to DIY or hire a professional, ensuring your ramp meets all accessibility standards is a key step in delivering a compliant, accessible solution for all users. Proper training concepts and understanding of safety fundamentals can aid in designing and installing an effective, compliant ramp. Additionally, understanding electric power generation methods can be helpful if you plan to incorporate energy-efficient features into your project.
Local Building Code Variations
Local building codes and accessibility standards can vary considerably depending on your location, so it’s essential to verify the specific requirements in your area before starting construction. Understanding building code variations and local regulations helps ensure your ramp is safe and compliant. Keep these key points in mind:
- Research local regulations to avoid costly revisions.
- Verify height and slope restrictions for safety.
- Check material requirements mandated by your area.
- Obtain necessary permits before beginning work.
- Be aware of specific building code variations that may affect design and construction.
Ignoring these differences can lead to fines or the need for modifications later. While DIY might seem straightforward, knowing the local building code variations ensures your wheelchair ramp is both safe and compliant. Consulting local authorities or professionals helps you avoid pitfalls and guarantees your wheelchair ramp is both safe and compliant.
Evaluating the Cost and Time Investment
When deciding whether to do a project yourself or hire a professional, it’s essential to carefully assess both the cost and the time involved. Conducting a thorough cost comparison helps you understand expenses, including materials, tools, and potential permits. DIY projects often save money upfront but may incur hidden costs if mistakes happen. Time management is equally important; building a wheelchair ramp can take several days or longer if you’re unfamiliar with construction, potentially delaying your project. Hiring a pro might cost more initially but can save you time and reduce errors, ensuring the job is done safely and efficiently. Additionally, understanding the safety considerations involved in constructing accessibility features helps you determine whether a DIY approach is appropriate or if professional expertise is advisable. Weighing these factors helps you make an informed decision that balances budget constraints with your available time and skills. Moreover, considering professional standards can help ensure the ramp is built to code and safety requirements, which is crucial for long-term accessibility and safety. Recognizing building codes and regulations is also vital in ensuring your project complies with local laws and safety guidelines. A careful evaluation of your own skills and the complexity of the project can also help determine if a DIY approach is feasible or if professional help is the safer choice. Taking into account construction safety protocols can further impact your decision, especially if the project involves complex or potentially hazardous work.
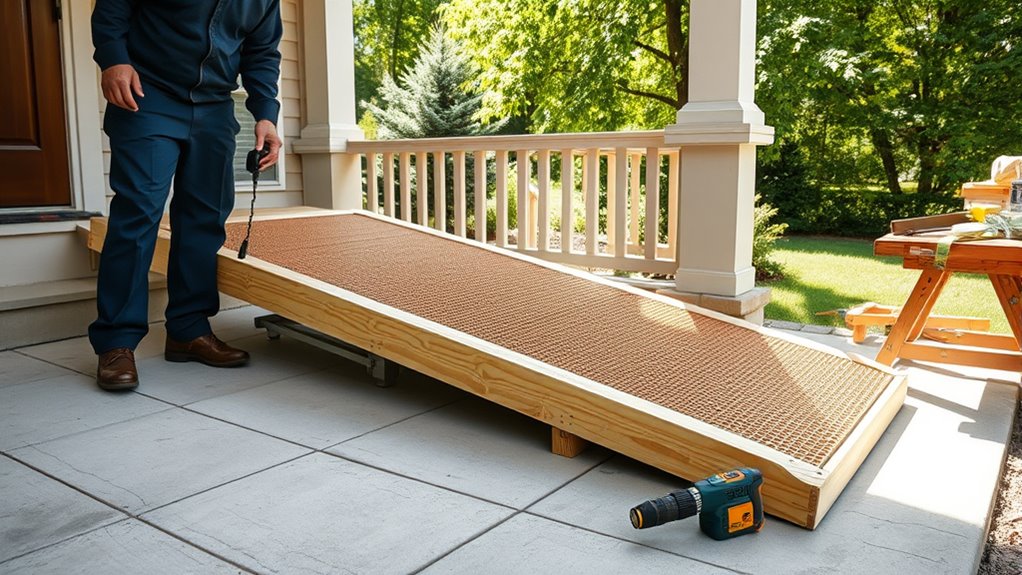
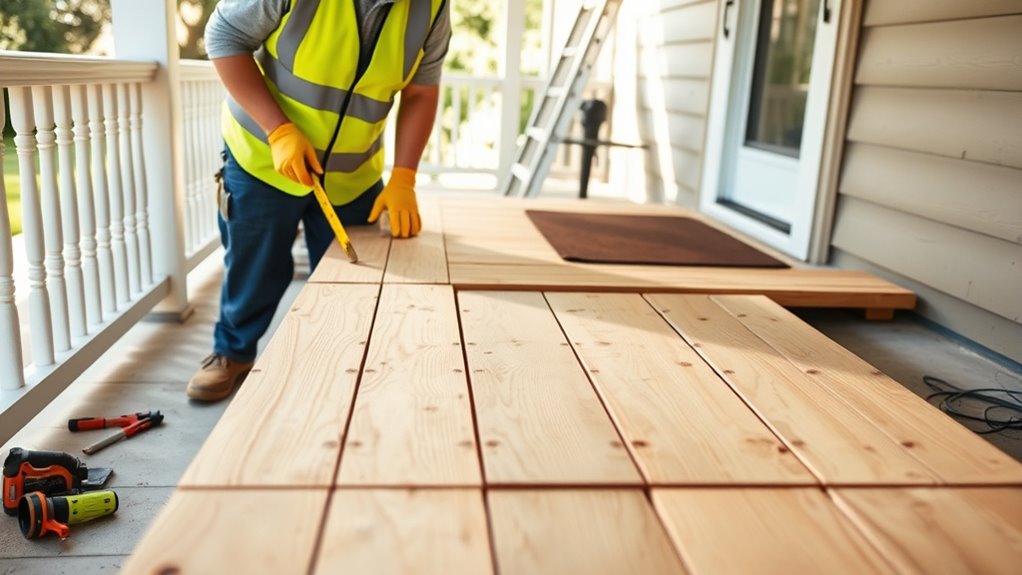
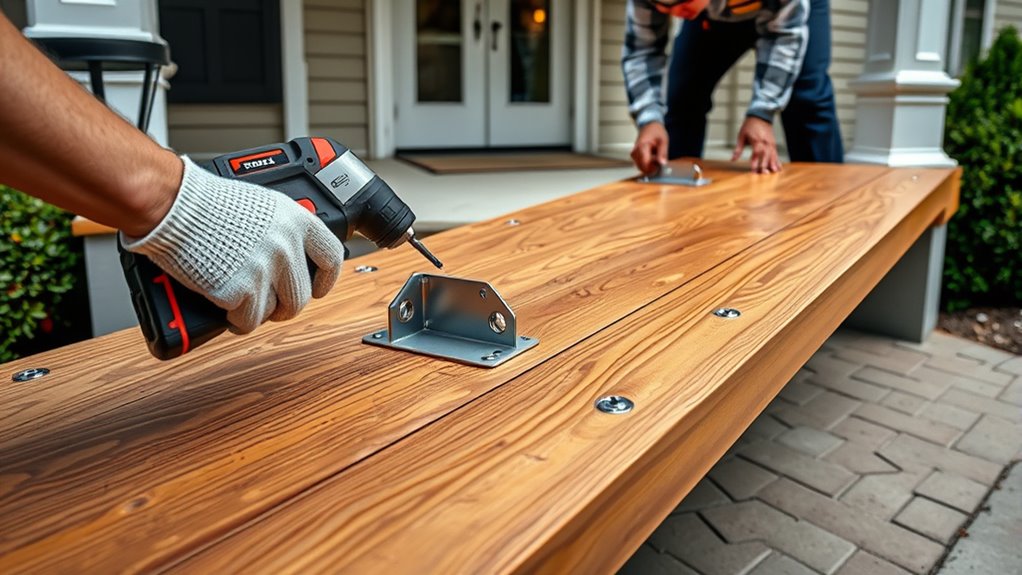
Gathering Necessary Tools and Materials
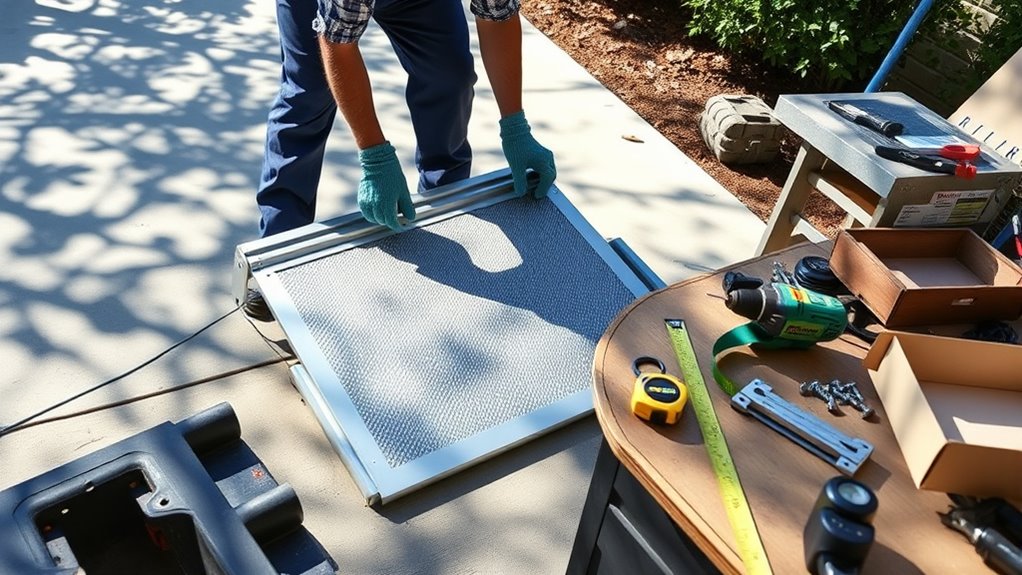
Before starting your project, make sure you have all the essential tools on hand, like a hammer, screwdriver, and measuring tape. You’ll also need the right building materials to guarantee everything fits and functions properly. Don’t forget safety equipment such as gloves and goggles to protect yourself throughout the process. Additionally, understanding reliable connections can help you select the appropriate materials and ensure your ramp is safe and durable. For extra confidence, consider reviewing building codes to ensure your ramp complies with local safety standards. Being aware of potential scams in the selection of materials can help you avoid costly mistakes and ensure your project’s safety and longevity. Moreover, familiarizing yourself with total-cost clarity can help you stay within budget and plan effectively for your installation.
Essential Tools Checklist
Gathering the right tools and materials is essential to guarantee your project runs smoothly and efficiently. Having the proper equipment ensures you can focus on creating a safe, attractive ramp that prioritizes wheelchair safety and enhances ramp aesthetics. Here’s a quick checklist to get you started:
- Measuring tape and level – for precise measurements and a stable build.
- Power drill and screws – to securely fasten components.
- Circular saw – for cutting lumber accurately.
- Safety gear (gloves, goggles) – to protect yourself during construction.
With these tools, you’ll be able to build a sturdy, safe ramp that looks professional and meets safety standards. Proper tools not only save time but also help maintain quality, ensuring your project is both functional and visually appealing.
Required Building Materials
To build a safe and durable wheelchair ramp, you need to select the right materials that meet safety standards and withstand outdoor conditions. Focus on material durability to ensure your ramp can handle weather elements without deteriorating quickly. Pressure-treated wood is a popular option for strength and longevity, while composite materials offer excellent resistance to rot and pests. For a more aesthetic appeal, consider materials like composite decking or wood with a stain or paint that complements your home. Make sure to choose slip-resistant surfaces to enhance safety. Additionally, check local building codes for specific material requirements. Gathering quality materials now will save you time and effort later, ensuring your ramp remains safe, functional, and visually appealing for years to come.
Safety Equipment Needed
Ensuring safety during the construction of your wheelchair ramp starts with assembling the right safety equipment. Proper gear is essential to protect you and guarantee a safe, accessible design. First, wear sturdy gloves to prevent splinters and improve grip. Second, use safety goggles to shield your eyes from debris. Third, keep a dust mask nearby to avoid inhaling dust or fumes. Fourth, have a hard hat or helmet on hand if working overhead or in unstable areas. These items promote wheelchair safety and help you maintain focus during construction. Always prioritize safety equipment to avoid accidents and create a reliable, accessible ramp. Proper tools and protective gear ensure your project stays on track, safe, and compliant with accessibility standards.
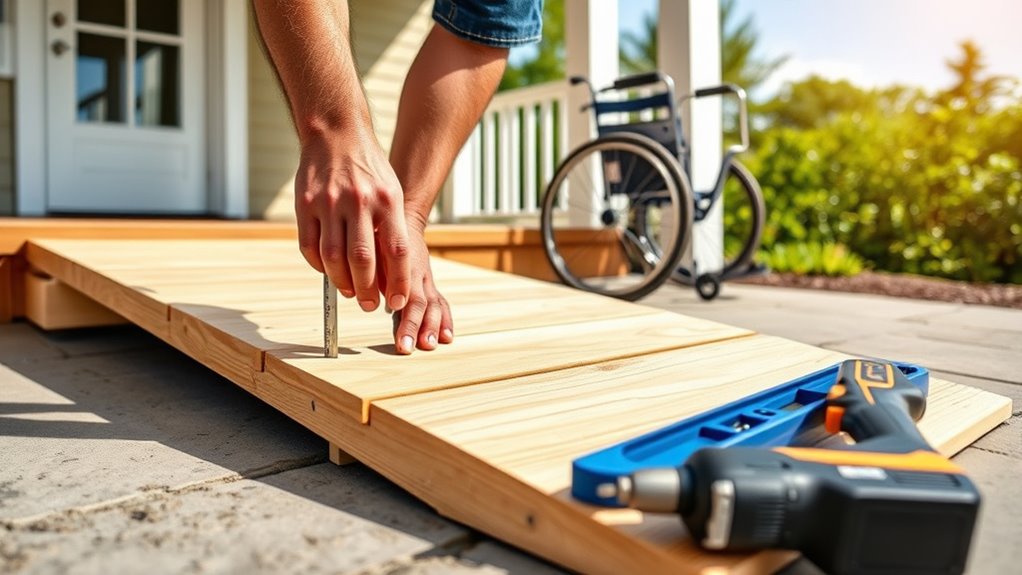
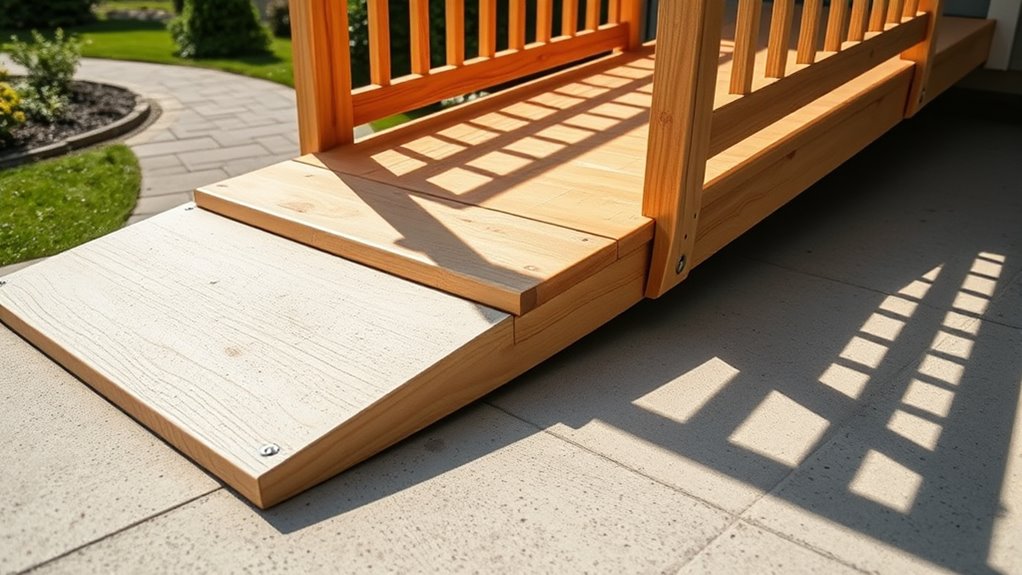
Planning the Design and Layout of the Ramp
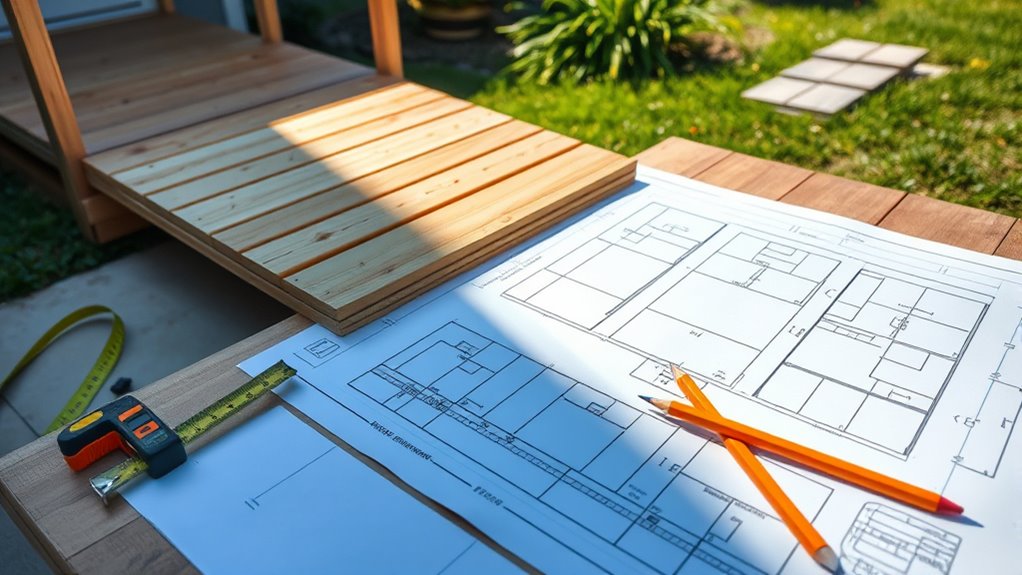
Before building your ramp, coordinating its design and layout carefully is vital. You need to prioritize wheelchair safety by making sure the slope isn’t too steep and the surface is slip-resistant. Measure the doorway height and determine the appropriate length for a gentle incline that complies with accessibility standards. Don’t forget to think about ramp aesthetics; a well-designed ramp can complement your home’s appearance while blending seamlessly with its surroundings. Think about placement—position the ramp where it provides easy access without obstructing pathways or landscaping. Take into account turning spaces if the ramp needs to curve. Proper planning ensures the ramp is both safe and visually appealing, making it a functional addition that enhances your home’s accessibility without compromising style.
Ensuring Structural Integrity and Safety Measures
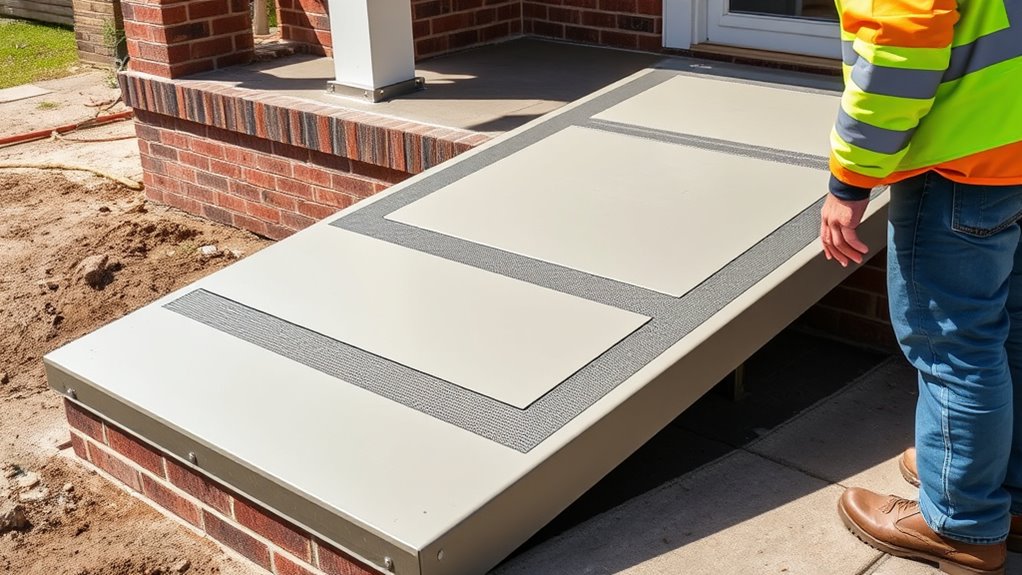
Securing the structural integrity of your ramp is essential to guarantee safety and durability. To do this effectively, focus on these key aspects:
- Structural reinforcement: Use strong materials like steel or pressure-treated wood, and ensure connections are secure with proper fasteners.
- Foundation stability: Verify the ground is level and compacted before installation to prevent shifting.
- Load testing: After construction, perform load testing to confirm the ramp can support the maximum weight capacity safely.
- Regular inspections: Check for loose bolts, cracks, or signs of wear periodically, and address issues promptly.
Securing Permits and Inspections
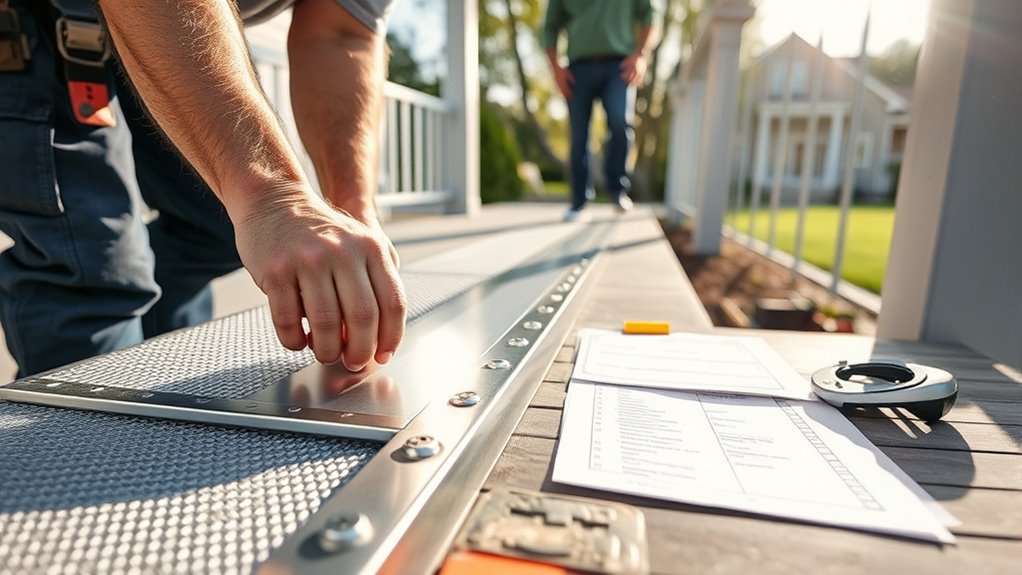
After completing your ramp’s construction and confirming its safety, the next step is to navigate the permits process. Local codes often require permits before installation, ensuring your ramp complies with safety standards. The inspection requirements vary by area but typically include checking the ramp’s dimensions, stability, and compliance with accessibility guidelines. Failing to secure proper permits can lead to fines or needing to redo the work. Here’s a quick overview:
| Step | Description | Typical Requirements |
|---|---|---|
| Submit permit | Apply at local building department | Plans and drawings required |
| Review process | Authorities evaluate your plans | Code compliance check |
| Inspection | Final safety inspection | Structural and safety review |
| Approval | Get official clearance | Permit closure granted |
| Re-inspection | Address any issues found | Resubmit if needed |
Following these steps ensures your project remains legal and safe.
Recognizing Signs of Professional Expertise
When evaluating whether to hire a professional for your ramp project, recognizing the signs of genuine expertise can safeguard your time and ensure safety. Look for these key indicators:
- Professional credentials—certifications or licenses show formal training and adherence to safety standards.
- Customer testimonials—positive reviews reflect reliability and quality work.
- Clear communication—a knowledgeable pro explains plans and answers questions confidently.
- Detailed estimates—comprehensive quotes demonstrate experience and transparency.
These signs indicate a contractor’s commitment to quality and safety, reducing risks and ensuring your ramp is built correctly. Trusting someone with proper credentials and glowing customer feedback gives you peace of mind, knowing your project meets safety regulations and standards.
Weighing Long-term Maintenance and Durability
Considering long-term maintenance and durability is essential to guarantee your ramp remains safe and functional over time. When evaluating options, think about how well the materials will stand up to weather, frequent use, and wear. If you choose a DIY approach, make sure you’re prepared for ongoing maintenance, like cleaning, sealing, or tightening loose parts. Professional-installed ramps often come with warranties and better materials, enhancing long-term durability. Maintenance considerations include checking for rust, structural integrity, and surface stability regularly. Investing in durable materials upfront can reduce future repairs and keep your ramp safe for years. Ultimately, balancing initial costs with ongoing maintenance requirements helps you make the best decision for a reliable, long-lasting wheelchair ramp.
Making the Final Decision: When to DIY and When to Hire a Professional
Deciding whether to tackle your wheelchair ramp project yourself or hire a professional depends on several key factors. Your priority should be wheelchair safety, ensuring the ramp meets all safety standards. Consider these points:
- Your experience with construction and permits
- The complexity of the ramp, including slope and stability
- Local regulations requiring professional contractor selection
- Your comfort level with handling tools and safety precautions
If you lack experience or the project involves complex permits, hiring a professional is the safest choice. A qualified contractor can ensure the ramp is built correctly, reducing safety risks. When choosing a contractor, verify their credentials and experience to guarantee proper installation and adherence to safety standards.
Frequently Asked Questions
What Are Common Mistakes to Avoid During Ramp Installation?
To avoid common mistakes during ramp installation, guarantee measurement accuracy for proper fit and safety. Double-check dimensions to prevent uneven surfaces or instability. Additionally, carefully select materials that support weight and weather conditions, avoiding cheap or unsuitable options. Poor measurement or wrong materials can compromise safety, so take your time to plan thoroughly. Properly securing the ramp and adhering to local building codes also prevents accidents and ensures a safe, durable installation.
How Can I Ensure My Ramp Complies With All Local Regulations?
You can’t afford to overlook local building codes and permit requirements—they’re the backbone of a safe, legal ramp. Double-check with your city or county’s building department to verify regulations before starting. Review the specific codes for slope, width, and handrails, and secure any necessary permits. Ignoring these details could lead to costly fines or unsafe installations, so stay proactive and compliant to ensure your ramp’s safety and legality.
What Are the Signs Indicating a Professional Installation Is Necessary?
You should hire a professional if you notice safety indicators like unstable footing or loose handrails, or if you’re unsure about maintaining structural integrity. When your ramp shows signs of wear, corrosion, or improper slope, it’s time to call a pro. A qualified installer assesses these safety indicators and guarantees your ramp meets all regulations, providing you peace of mind that it’s secure, durable, and safe for everyday use.
How Long Does a Typical Professional Wheelchair Ramp Installation Take?
Installing a wheelchair ramp usually takes about one to three days, depending on the project’s complexity. Think of it like planting a garden—you need proper planning and patience for a successful bloom. Your professional will coordinate the installation timeline and project scheduling efficiently, ensuring minimal disruption. On average, a straightforward ramp can be completed in a day, but more complex installations might extend to several days.
What Maintenance Steps Are Essential for Longevity and Safety?
You should regularly inspect your wheelchair ramp for damage, debris, and loose hardware to guarantee wheelchair safety. Follow a maintenance checklist that includes cleaning the surface, checking for cracks or corrosion, tightening bolts, and verifying the non-slip surface remains effective. By performing these steps, you’ll extend the ramp’s lifespan and maintain safety, making sure it stays reliable and secure for every use. Regular upkeep keeps you safe and prevents costly repairs.
Conclusion
Ultimately, choosing between a DIY project or a professional touch is like planting a seed—consider your skills, resources, and the landscape ahead. If your groundwork is solid and you’re confident in nurturing the project, you might see a beautiful bloom of independence. But if the terrain feels uncertain or the vision complex, inviting a seasoned gardener guarantees your ramp will stand tall and true, guiding you safely on your path.